Under Sink Reverse Osmosis Water Filter System Installation
Many people worry about one thing when they decide to buy an under sink reverse osmosis water filter system: how it will be installed, how much it will cost to install a ro system. No need to worry, just make sure you follow these steps and you can install it yourself without any extra cost!
The first step is to determine the size of the installation space and measure the space under the space kitchen to see if the space location is enough to put down an under kitchen reverse osmosis machine; This will reduce a lot of trouble for you, avoiding the problem of direct blind purchase but the space does not match! Having size data can help you find machines on shopping platforms with a goal in mind!
| Model | Dimension (L*W*H) |
| V1-600N(600GPD) | 9.68*7.08*17.16 inch |
| V2-600N(600GPD) | 13.9*4.9*16.2 inch |
| V2-800N(800GPD) | 13.9*4.9*16.2 inch |
Unlike traditional RO systems requiring a storage tank, the Vonwater under sink reverse osmosis purifier uses an electric pump to generate water pressure on demand. So it required electric power outlet nearby, requiring electricity to operate the pump is a trade-off for superior hygiene: no storage tank means no risk of secondary contamination and no requirement for periodic tank cleaning, unlike tank-based RO systems.
Installing an under-sink reverse osmosis system requires two drill points:
1. A hole in the drain pipe to connect the wastewater discharge line.
2. A hole in the countertop for the RO faucet, enabling simultaneous access to regular tap water and purified RO water .
If all of the above is acceptable, you can place your order for the machine you're looking at🎉🎉🎉
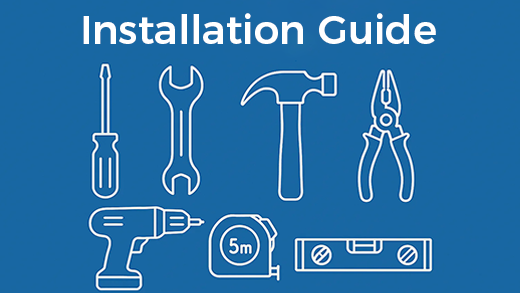
Now we can step into the installations process
NOTE: Make sure the water has stopped before proceeding to the next step. Get a towel or bucket to catch water.
2.1 Disconnect the cold pipe from the cold water supply valve;
2.2 Twist the feed water adapter onto the cold water supply valve (with its washer) and tighthen it with an adajustable wrench.
2.3 Twist the cold water pipe onto the feed water adapter then tighthen it with an adjustable wrench.
Note: If the cold water pipe is 1/2”, you can connect the feed water pipe directly.
If the cold water pipe is 3/8", you need to connect the 1/2"-3/8" comp converter onto the feed water adapter first then twist onto the cold water supply valve and cold water pipe.
(Contact us support@vonwater.com if you need 1/2"-3/8" comp converter)

Note: If there is no hole in your kitchen sink or countertop, you have to drill one(0.59")
3.1 Insert the faucet spout into the faucet body
3.2 Insert the faucet stem into the hold on the countertop
3.3 Under the sink, slip on other parts.
3.4 Insert the quick push-in-fitting to the bottom of the RO faucet and secure it with lock clip.
4.1 Paste the foam seal provided to the inside of the drain saddle. Make sure the hole of foam seal is aligned with the hole of drain saddle. Choose a spot on the vertical drain pipe for installing the drain saddle.
4.2 Drill a 1/4" hole in the drainpipe. Be sure not to penetrate the opposite side of the pipe.
4.3 Slip the drain saddle on one end of the gray tube, and insert the gray tube into the drilled hole on the drain pipe.
4.4 Secure the drain saddle on the drainpipe by tightening the screws and nuts while leaving the tube in the hole.
Check and ensure there is sufhcient space under the countertop to install the system NOTE: Make sure that there is a power outlet in the kitchen cabinet or on the wall connected to the lower cabinet space before installation. It is not recommended to place the housing against the cabinet, as there may be vibrations when the system works.
Confirm the tubing length you need first, and then cut the tubing if it's too long
6.1 Install the "INLET" Water Tubing
Connect the " lNPUT" Water Tubing from the feed water adapter to the " Inlet " input water port;
6.2 Install the "PURE" Water Tubing
Connect the "PURE" Water Tubing from the RO faucet to the "PURE WATER" water port;
NOTE: Make sure it is fully inserted to the mark.
6.3 Install the “WASTE" Water Tubing
Connect the "WASTE" Water Tubing from the drain saddle to the waste water port;
NOTE: Make sure it is fully inserted to the mark.
6.1 Turn on the cold water supply valve. Check for leaks.
6.2 Connect the power cord
Notice: Connect the power adapter if needed: Insert the DC head of the power adapter into the "POWER" port at the back of the housing.
These are the complete installation steps. For detailed video guidance, visit our YouTube tutorial: https://www.youtube.com/watch?v=SBRctMCYRDs. For additional assistance, please contact our support team.